
After creating the Intermediate snapcraft.yaml example, the snap is ready to be built. The following is based on the wethr snap.
Snap build process
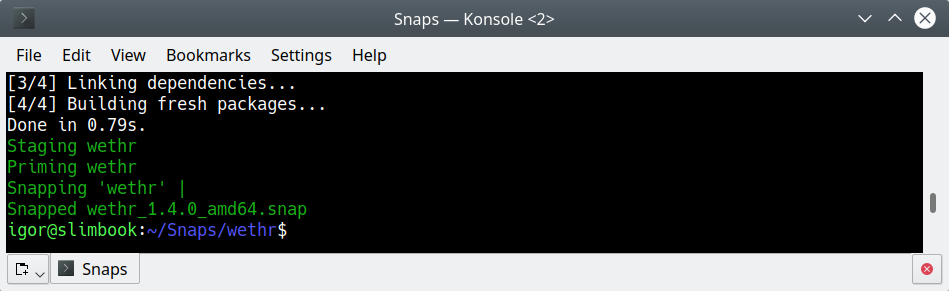
From the project directory, run the following command:
snapcraft
This command will start an Ubuntu 20.04 minimal install build instance (either a virtual machine instance via Multipass or container instance via LXD), download the necessary packages, build the snap, save the final artefact in your work directory, and then stop the build instance.
The virtual machine or container will not be deleted, and will be reused for any future re-builds of the snap, in case you require it.
Snap publication process
The process consists of the following steps:
- Creation of a free developer account at snapcraft.io.
- Registration of the snap’s name (through the Snap Store or the command line).
- Release of the snap to one of the available channels in the Snap Store.
snapcraft login
snapcraft register
Once the first two steps are complete, the developer can upload the snap to the store.
snapcraft upload --release=<channel> <file>.snap
Snap Store channels
The Snap Store comes with a high level of release management flexibility, achieved by using multiple channels, which allow developers to publish their applications in a staged, controlled manner. The channels can be treated as a multi-dimensional version control. Each channel consists of three components:
<track>/<risk>/<branch>
- Track - represents a progressive potential trade-off between stability and new features. Developers can maintain multiple tracks for different major versions of their software.
- Risk - enables publication of multiple supported releases of the snap under the same snap name.
- Branch - are optional and hold temporary releases intended to help with bug-fixing.
A typical channel looks like:
--channel=latest/edge
Track
All snaps must have a default track called latest. This is the implied track unless specified otherwise. A track contains releases based on the developer’s versioning convention. A track could be used to track minor updates (2.0.1, 2.0.2), major updates (2.1, 2.2), or releases held for long-term support (3.2, 4.1).
Risk
This is the most important aspect of the channels. It defines the readiness of the snap. The risk levels used in the snap store are: stable, candidate, beta, and edge. Snaps with the devel grade cannot be released to either the stable or candidate channels.
Snaps are installed using the stable risk-level by default. Multiple notations can be used to specify the channel. For instance, --stable is equivalent to --channel=stable or even --channel=latest/stable.
Branch
Branches are optional. They allow the creation of short-lived sequences of snaps that can be published on demand by snap developers to help with fixes or temporary experimentation.
Branch names convey their purpose, such as fix-for-bug123, but the name isn’t exposed in the Snap Store. Instead, they can be tracked by developers and users who know the exact name. After 30 days with no further updates, a branch will be closed automatically.
Next steps
During our Build your own snap with Snapcraft series of How-tos, we’ve been through an overview of the snap ecosystem, focused on the Snapcraft tool, the contents and syntax of the snapcraft.yaml, we built a simple and then an intermediate-difficulty snap example illustrating the use of different components and keywords, and finally, we published the built snaps into the Snap Store.
We’ve covered the required basics, and provided a baseline for developers looking to get started with the snaps. The next step is to build a snap of your own project, and one of the best places to start is with a Platform walkthrough. These step through the same process for your chosen platform, whether that’s Rust, Python, cmake or Golang (among many others).
Last updated 8 months ago.